RTL SDR dongle
| board ID | deployment |
|---|---|
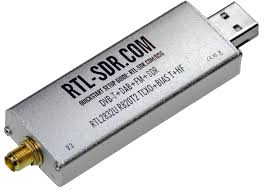
RTL-SDR is cheap USB dongle that allows to perform software defined radio (SDR) on frequences between 500kHZ to 1.75GHz. This kind of device can only be used in reception mode.

You can find useful information on the rtl-sdr.com website.
Usage on IoT-LAB
In IoT-LAB, we provide remote access to the rtl-sdr data using the rtl_tcp
daemon running on the gateway on which the dongle is plugged.
The rtl_tcp daemon is configured to listen on port TCP:50000 and you can
access it once an experiment is running on a rtl-sdr device.
Access can be done by opening an SSH tunnel on port 50000 between your computer and the rtl-sdr in IoT-LAB. Just use the following command:
$ ssh -L 50000:rtl-sdr-<id>:50000 <login>@saclay.iot-lab.info
You have to keep the SSH session opened during the experiment.
Connect to the RTL-SDR dongle using GNU radio
To retrieve the radio signal, the easiest way is to use GNU Radio.
Install GNU radio
GNU Radio can be installed by following the official documentation.
To retrieve the radio signal from the RTL SDR dongles, you will also have to install the osmosdr plugin.
On a Debian-like system like Ubuntu, you can install both GNU Radio and osmosdr with the following commands:
$ sudo apt install gnuradio gr-osmosdr
Example of GNU radio setup
Here we provide an example of GNU radio workflow that allows to retrieve and display the RTL-SDR radio signal.
- Download this sample GNU radio project
$ wget https://iot-lab.github.io/assets/misc/docs/rtl-sdr/rtl_tcp.grc
- Start
gnuradio-companionand open the project file you just downloaded:
$ gnuradio-companion rtl_tcp.grc
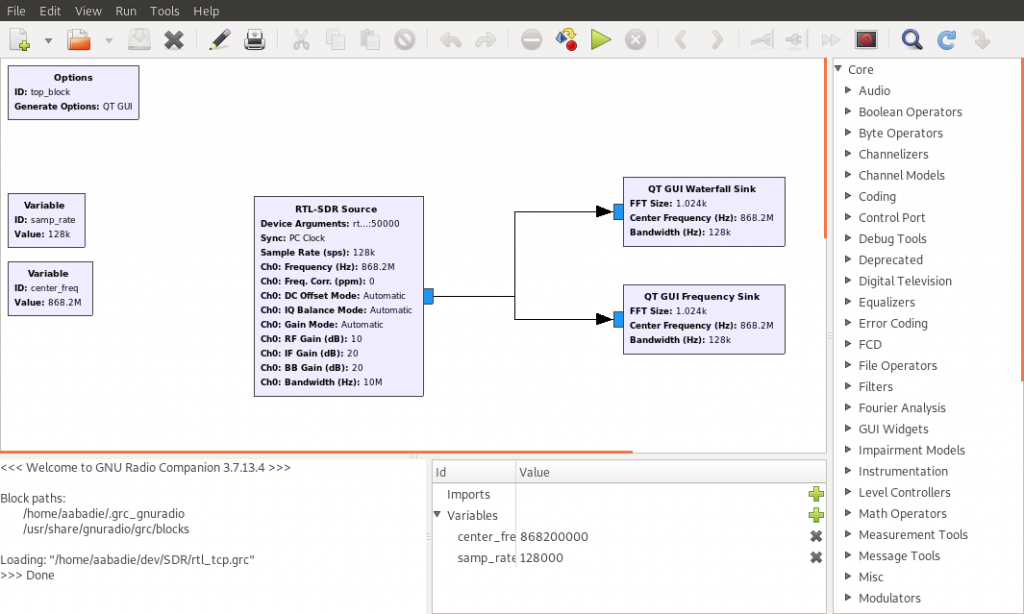
You should end up with the following user interface:

Note: See the Device Arguments field in the RTL-SDR source box: it
points to rtl_tcp=127.0.0.1:50000.
This is how the signal is retrieved from the RTL SDR dongle in IoT-LAB via the
SSH tunnel that you have to open before.
Test this setup
Let’s submit an experiment with one rtl-sdr and one LoRa board in the Saclay site.
To send LoRa radio messages with the LoRa board, we will a prebuilt firmware that can be downloaded from here:
$ wget https://iot-lab.github.io/assets/firmwares/rtl-sdr-lora.elf
The experiment can be submitted as follows:
$ iotlab-experiment submit -d 120 -l 1,site=saclay+archi=rtl-sdr:none -l 1,site=saclay+archi=st-lrwan1:sx1276,rtl-sdr-lora.elf
$ iotlab-experiment wait
You can print the information about your experiment to get the <id> of your
devices (lora board and rtl-sdr dongle):
iotlab-experiment get --print
{
    "effective_duration": 3,
    "firmwareassociations": [
        {
            "firmwarename": "eae328082baa20476a32251f1f963e8d_rtl-sdr-lora.elf",
            "nodes": [
                "st-lrwan1-<id>.saclay.iot-lab.info"
            ]
        }
    ],
    "id": <experiment id>,
    "name": "",
    "nb_nodes": 2,
    "nodes": [
        "rtl-sdr-<id>.saclay.iot-lab.info",
        "st-lrwan1-<id>.saclay.iot-lab.info"
    ],
    ...
}
Open the SSH tunnel between your computer and the RTL-SDR dongle:
$ ssh -L 50000:rtl-sdr-<id>:50000 <login>@saclay.iot-lab.info
Start GNU radio and launch the workflow with the icon:
$ gnuradio-companion rtl_tcp.grc
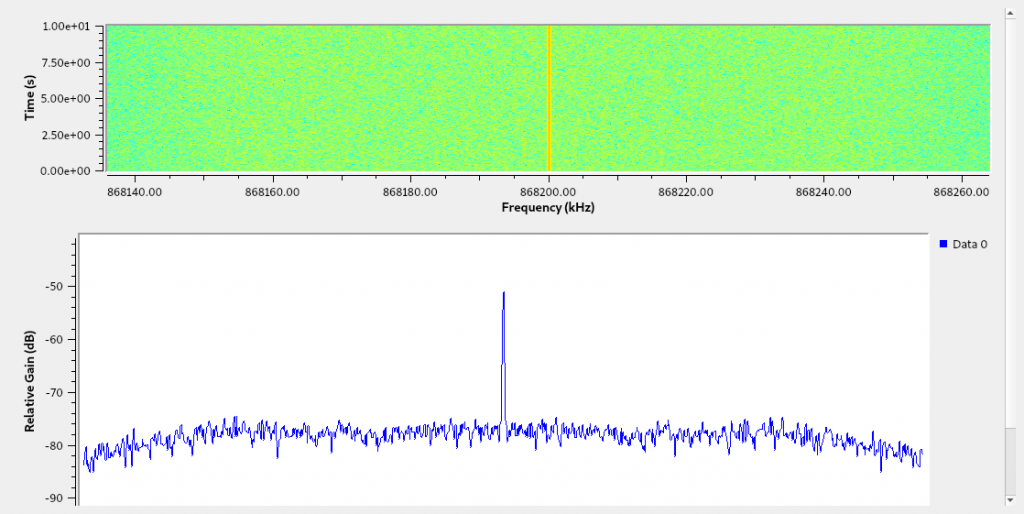
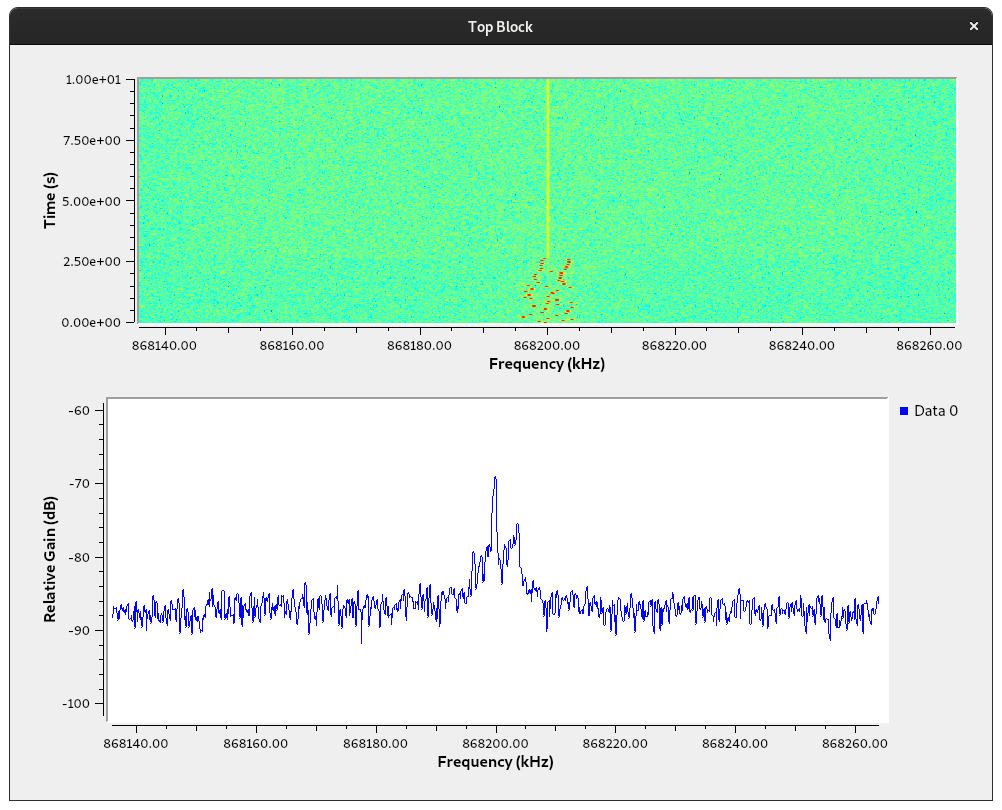
The following window with the waterfall and spectrogram windows should appear:

Now, let’s connect to the lora board serial port from the terminal running the SSH tunnel:
<login>@saclay:~$ nc st-lrwan1-<id> 20000
main(): This is RIOT! (Version: 2020.04)
Welcome to RIOT!
>
Using ifconfig command of the RIOT shell, check the radio configuration of
the LoRa interface on the board:
> ifconfig
ifconfig
Iface  4  Frequency: 868299987Hz  BW: 125kHz  SF: 12  CR: 4/8
           TX-Power: 14dBm  State: SLEEP
          L2-PDU:6911
The frequency is 868299987Hz so it should be adapted to be within the GNU
radio listen window:
> ifconfig 4 set freq 868200000
ifconfig 4 set freq 868200000
success: set frequency [in Hz] on interface 4 to 868200000
> ifconfig
ifconfig
Iface  4  Frequency: 868199951Hz  BW: 125kHz  SF: 12  CR: 4/8
           TX-Power: 14dBm  State: SLEEP
          L2-PDU:6911
Using the txtsnd command, you can send raw LoRa radio packets and see them
appear in the GNU Radio interface:
> txtsnd 4 bcast "Hello RTL SDR!"
